Developing the Desugn Idea page 3 of 3
The Design Idea (Including Color Keys)
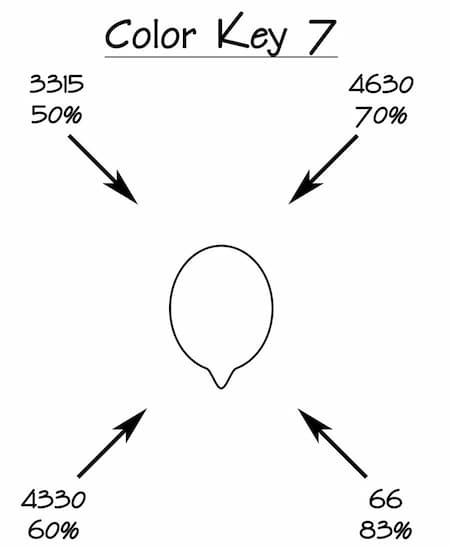
Breaking down your ideas - a color key.
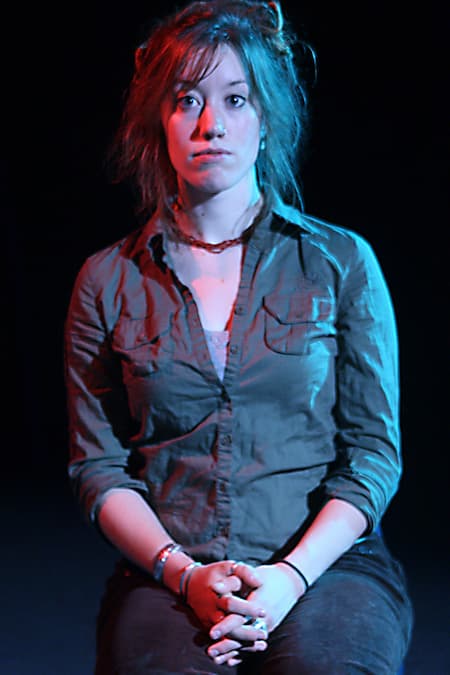
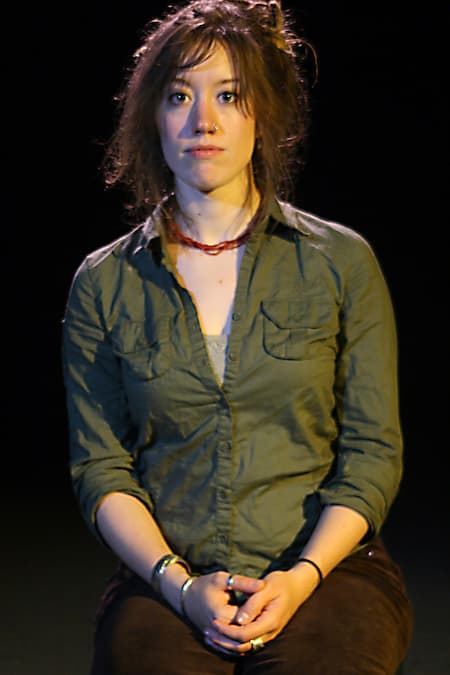
With these pictures in mind, or sometimes photographs or paintings used for inspiration for the show, the designer must analyze the lighting to see what needs to be done to recreate the lighting for each of these pictures. Analyze where the light sources appear to be coming from: high side light, low front, steep back, etc.Tricks to figure out the light sources in a picture include: looking at the different highlights, and the angles of the shadows.
Shadows normally appear to be in the color range of the complement of the light source - so an amber low side light from a sunset might leave a long, drawn shadow covering a great deal of the floor, seemingly elongating the character throwing the shadow, while the fill of the character's face seems to have a blue tint to it.
This complementary color scheme adds to the contrast between the key and fill lights, supporting the contrast in relative intensity between the key and fill.
“Key light” and “fill light” are terms we use to help differentiate between the light coming from the primary source (the key or the sun in this example) from the other light sources. The other light reflects off the ground, trees, or other surroundings that bounces back to hit the characters so they are not in partial darkness (the fill).Key lights tend to be brighter and more directional (clear source, like a table lamp, the sun, or a fireplace) while fill lights tend to be dimmer and softer (like reflective light off the walls, table candles in a fine restaurant, etc.).
Lighting design is based on your experiences as a designer and artist; you must pay attention to your surroundings.
You can ask a room full of people to describe the lighting of the area right outside of the room you are in and most of them would not be able to answer you. Yet, most assuredly, there is a play that uses a similar space as a setting.
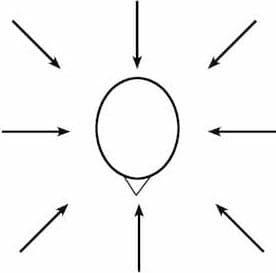
You can make simple sketches to aid you in figuring out and keeping track of the various key and fill lights for pictures. It's also very useful to practice analyzing photographs, paintings, and what you find in the natural world around you.
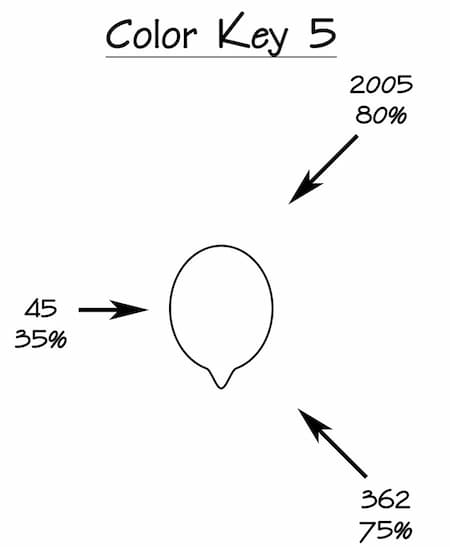
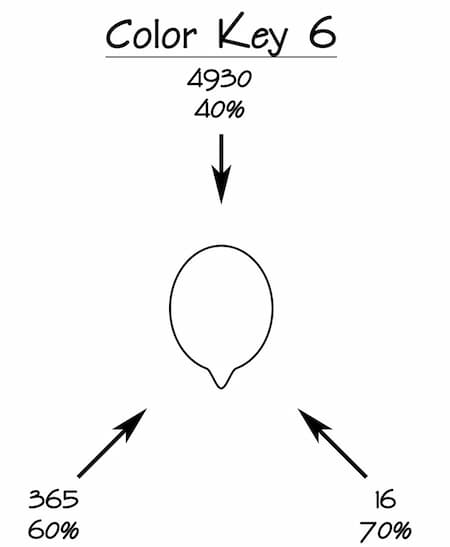
These pictures, called color keys, are instrumental in the development of your light plot.
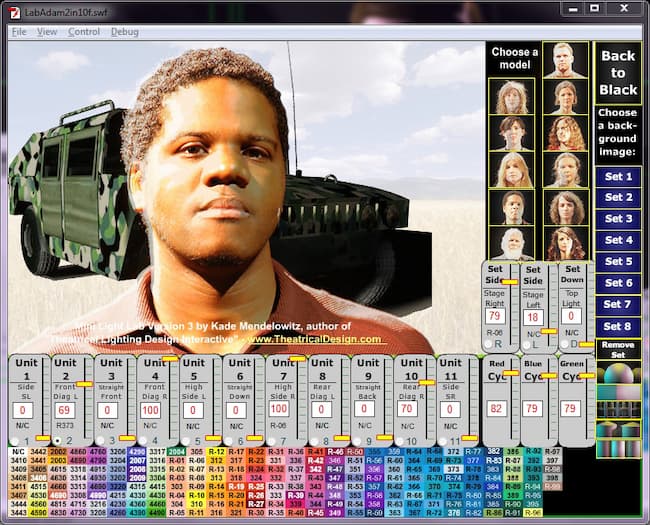
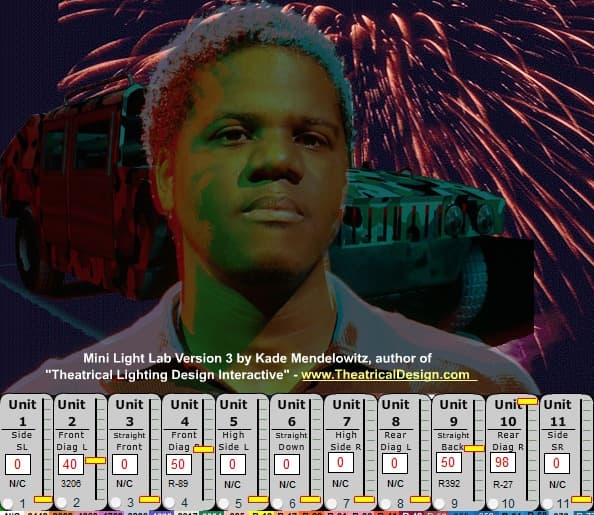
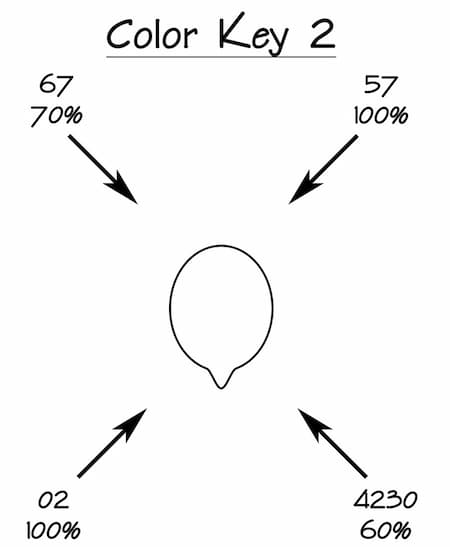
Develop a color key for the main / typical lighting areas and include a list of “specials” (lights that you’ll need, but not in each of the acting areas). The more specific & detailed the better.You may also use the Mini Light Lab on this site to experiment with color and play with combinations and positions.
Review the segments Angles and Positions, Color (especially Color Demonstrations through Light), and Adjusting Color Keys to the Budget to learn more about creating a color key.
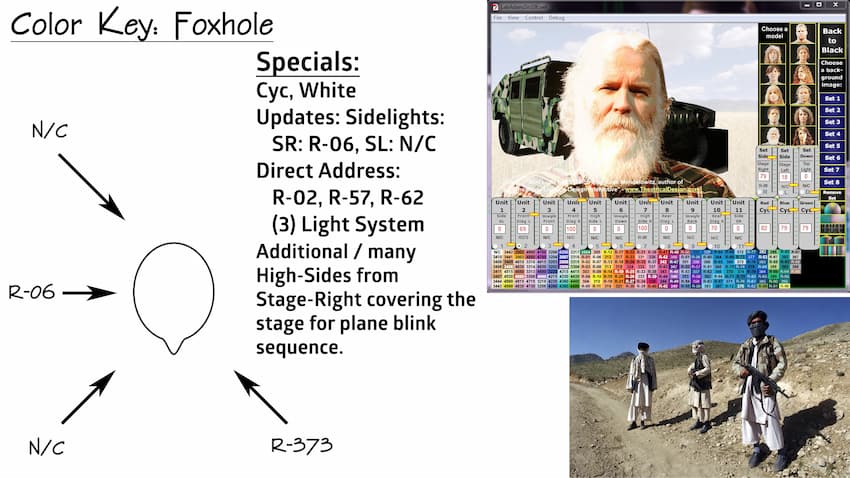

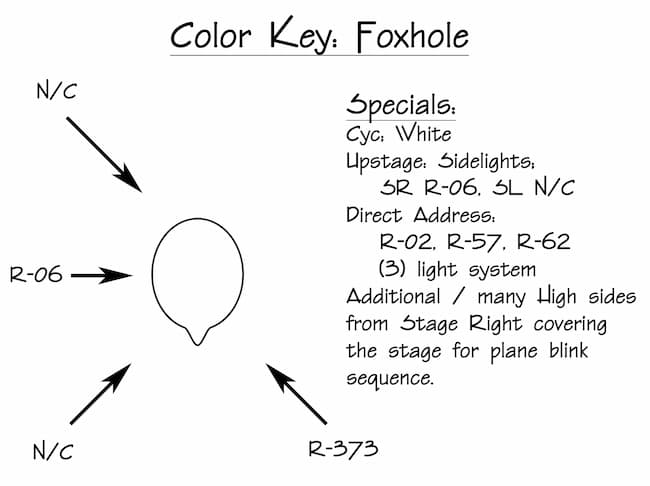
View this color key in full resolution.
Notice how each area only requires 4 lights - though not a standard four-light system; just because you have 11 standard positions available doesn’t mean you have to use them all! |
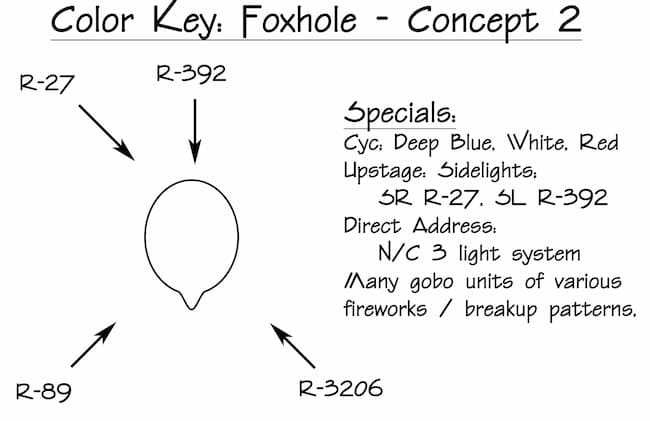
As a refresher from sample concept 2:
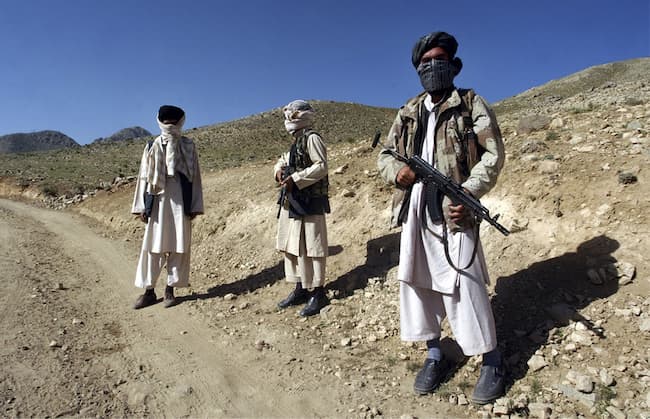
The lighting for Foxhole is like a nighttime fireworks display. There are many small, fast flash/bursts of color, with occasional large, dramatic, grandiose explosions intermingled.
The lighting for Foxhole is like a nighttime fireworks display. There are many small, fast flash/bursts of color, with occasional large, dramatic, grandiose explosions intermingled.
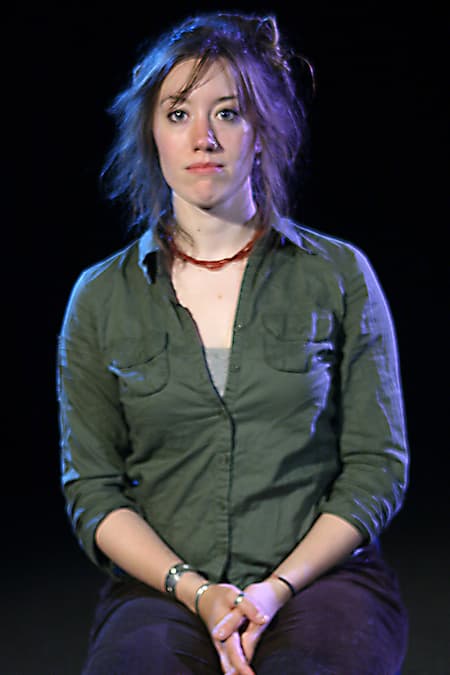
You can make simple sketches to aid you in figuring out and keeping track of the various key and fill lights for pictures. It's also very useful to practice analyzing photographs, paintings, and what you find in the natural world around you.These pictures, called color keys, are instrumental in the development of your light plot.Give it a try! I'll give you a photo, you try to create a color key based on that image. Don't worry about being imperfect - just try to build your skills! |
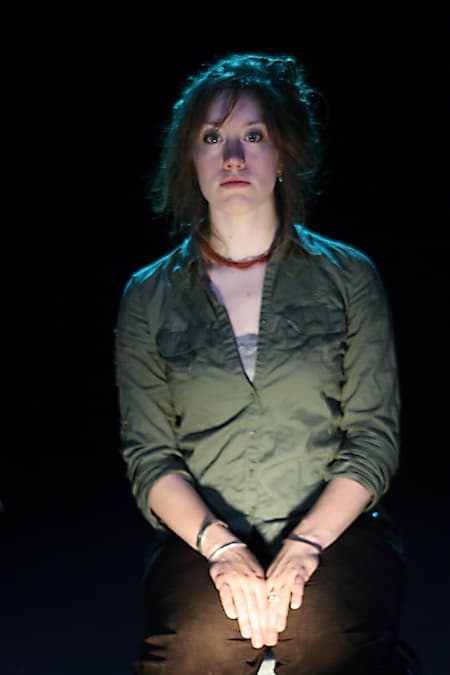
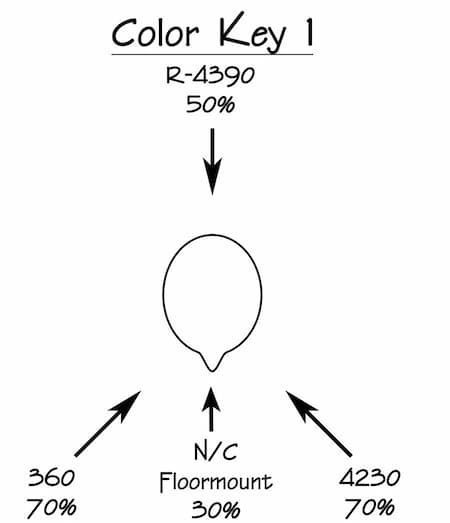
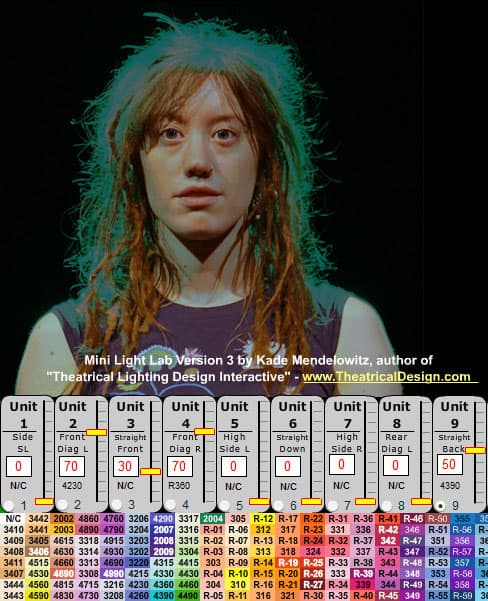
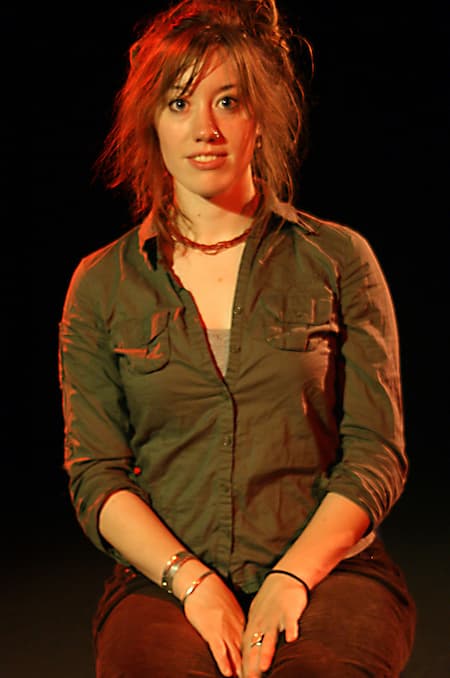
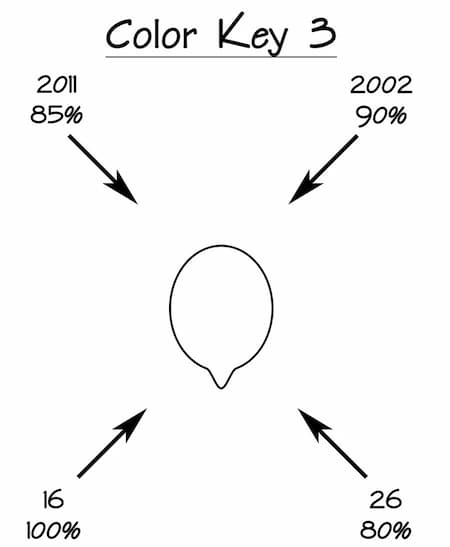
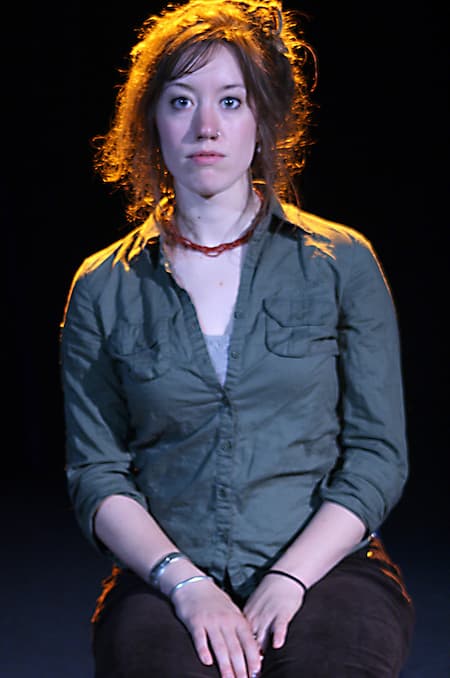
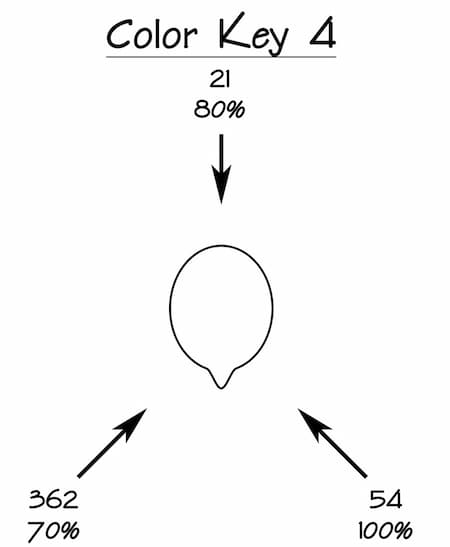
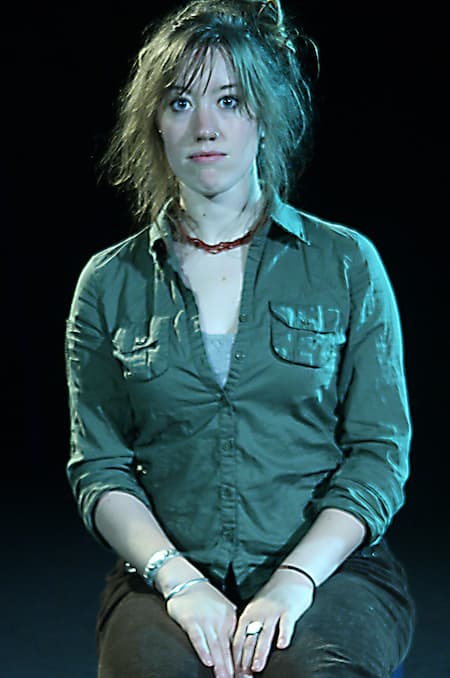
By knowing what the lighting for each scene looks like, which you have developed by carefully analyzing the script, production concept, and all other design elements, you are now prepared to begin working on the finished design.
Now take all of these sketches and combine similar elements so that you may develop a lightplot that is practical, feasible, within budget, and yet still offers you as close to these different “looks” as you have determined are necessary for the production.
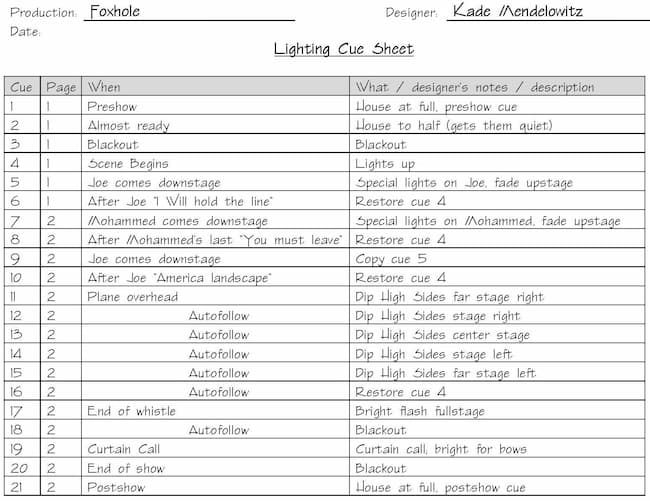
With your concept paper, cue plot (explained in the segment “Production Analysis”) and color key(s) in hand, you are ready to begin creating your lightplot!



 © Multimakers Multimedia